How to Reduce Input Lag on Windows 10/11: 10 Hidden Low-Latency Tweaks

For competitive gamers and users seeking the snappiest possible response from their PC, input lag (or latency) is the enemy. While optimizing hardware is essential, Windows 10 and 11 often run background processes and power-saving features that can introduce small, inconsistent delays.
Based on a popular optimization guide, here are 10 hidden Windows tweaks focused on eliminating those micro-stutters and lowering your overall input latency.
Quick Safety Step: Before starting any system optimizations
- Open your Windows search bar, type restore
- Select “Create” and give any name and select create.
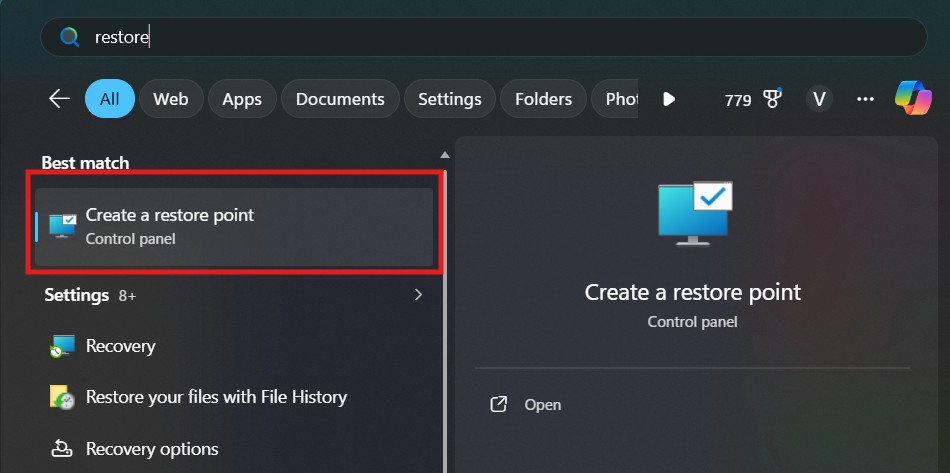

This allows you to revert all changes if anything goes wrong.
Part 1: Eliminating Latency from System Scheduling & Power
These tweaks directly target Windows features that trade system responsiveness for power efficiency.
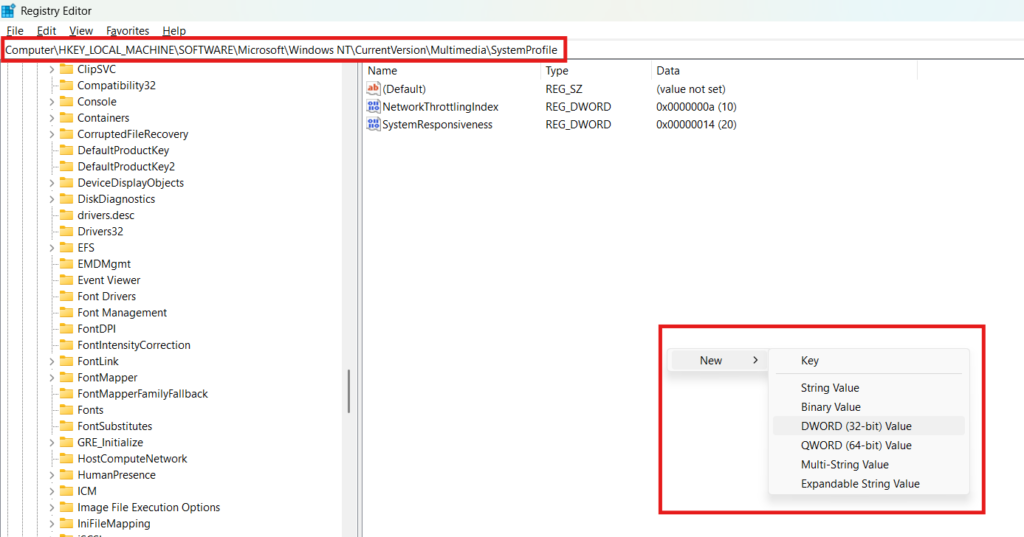
1. Disable Timer Coalescing (Registry)
Timer coalescing is a power-saving feature that groups background tasks together. This grouping can cause inconsistent frame delivery and input delay bursts. Disabling it forces timers to run more precisely.
- How to Tweak:
- Open Registry Editor (
regedit). - Navigate to
HKEY_LOCAL_MACHINE\SOFTWARE\Microsoft\Windows NT\CurrentVersion\Multimedia\SystemProfile. - Right-click in the right pane, select
New > DWORD (32-bit) Value. - Name it
TimerResolutionand set its value to0.
- Open Registry Editor (

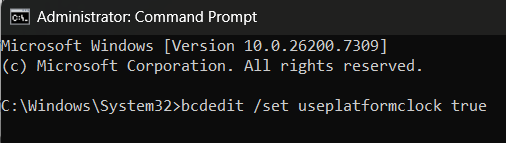
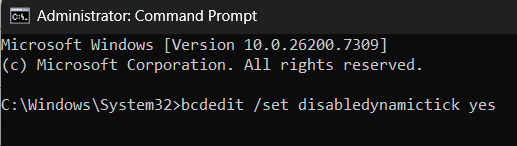
2. Disable Dynamic Tick (CMD)
Dynamic Tick is another power-saving feature that allows Windows to pause timer updates, which can cause inconsistent frame pacing or input delay, especially when your PC is under moderate load.
- How to Tweak:
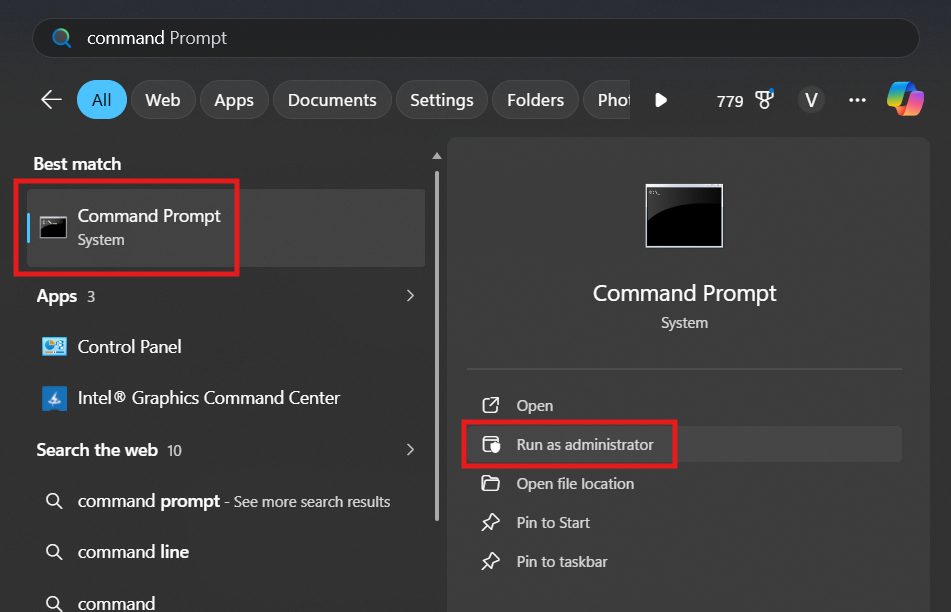
- Open Command Prompt as an administrator.
- Type
bcdedit /set useplatformclock trueand press Enter. - Type
bcdedit /set disabledynamictick yesand press Enter.
- Condition: If you use a laptop or a low-end PC with poor cooling, you may skip this tweak, as it slightly increases power draw/heat.
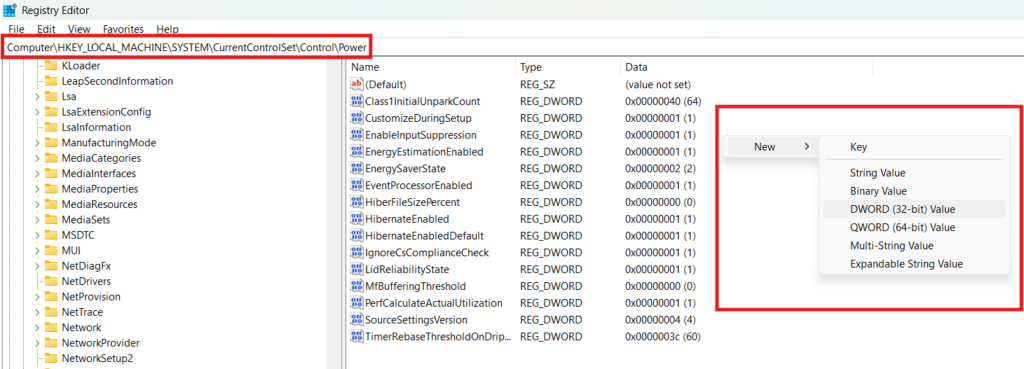
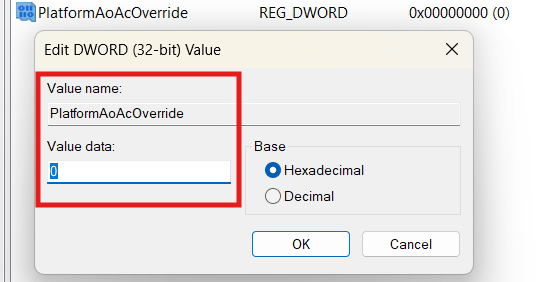
3. Disable Connected Standby (Registry)
Connected Standby (or Modern Standby) can put your CPU into low-power states at random intervals to maintain background internet connectivity while ‘sleeping.’ Disabling it ensures a more consistent CPU clock and steady performance.
- How to Tweak:
- Open Registry Editor (
regedit). - Navigate to
HKEY_LOCAL_MACHINE\SYSTEM\CurrentControlSet\Control\Power. - Right-click in the right pane, select
New > DWORD (32-bit) Value. - Name it
PlatformAoAcOverrideand set its value to0.
- Open Registry Editor (
4. Disable Fast Startup (Power Options)
Fast Startup (or Hybrid Shutdown) uses a form of hibernation to save system state, which can prevent a full, clean restart of drivers and operating system components. Disabling it ensures a proper reboot every time, resolving latent driver and process issues that cause lag.
- How to Tweak:
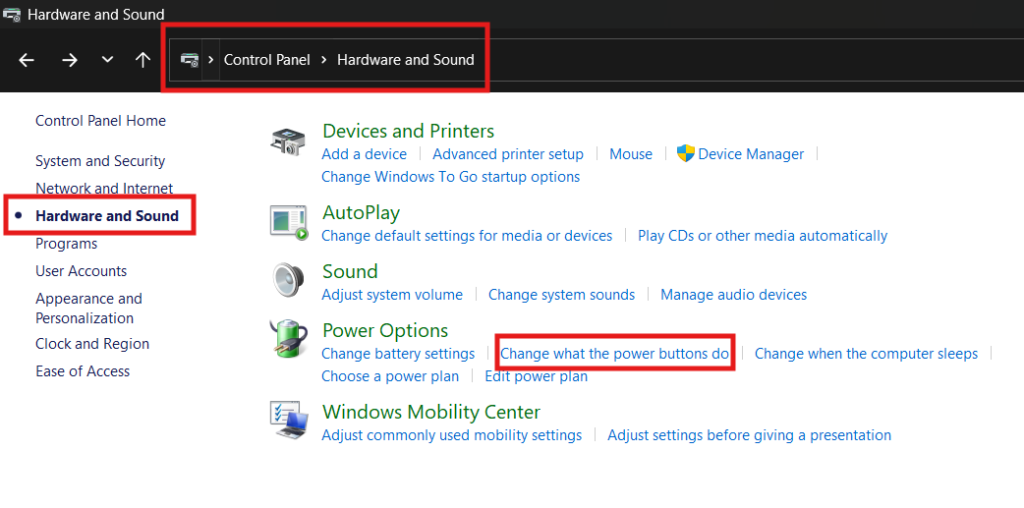
- Open Control Panel and go to Hardware and Sound > Power Options.
- Click “Choose what the power buttons do.”
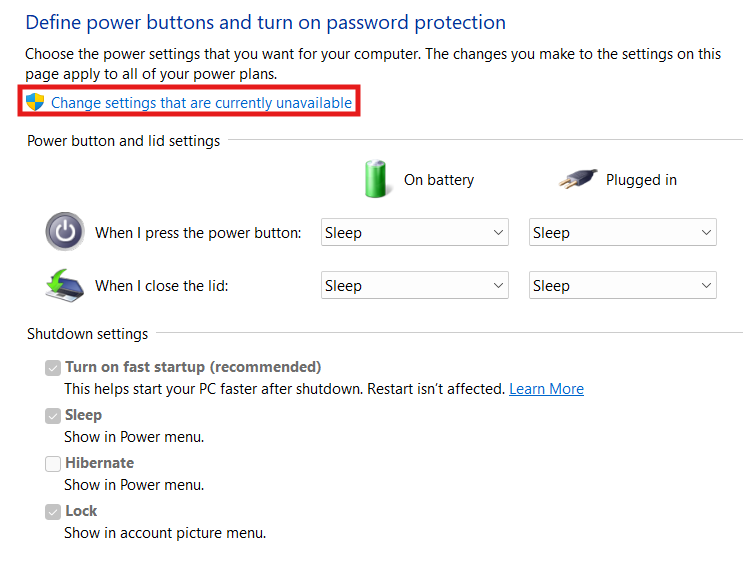
- Click “Change settings that are currently unavailable.”
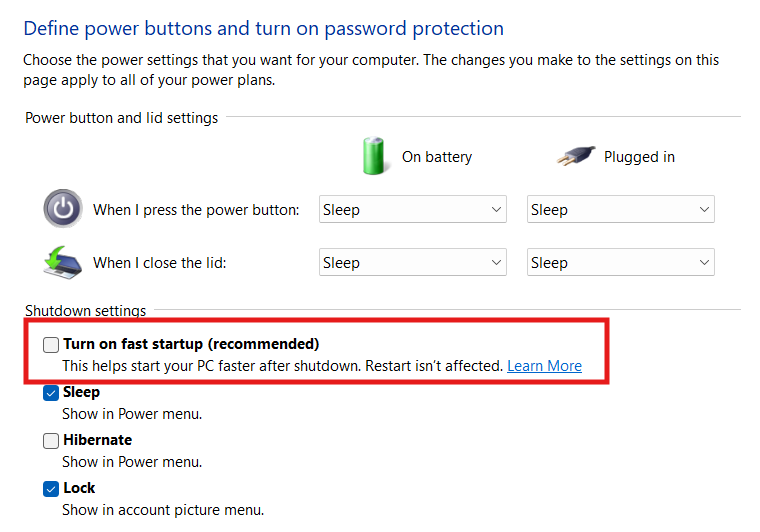
- Uncheck “Turn on fast startup (recommended).”
Part 2: Low-Latency Performance & Resource Management
These tweaks manage how the CPU and network hardware process tasks, reducing the burden on the CPU’s primary thread.
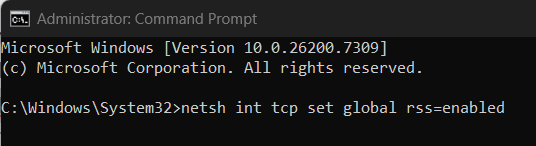
5. Enable Task Offloading (CMD)
Task offloading shifts network-related tasks (like packet segmentation) from your CPU to your Network Adapter (NIC). This reduces CPU load, freeing up resources for games and lowering potential network-related latency.
- How to Tweak:
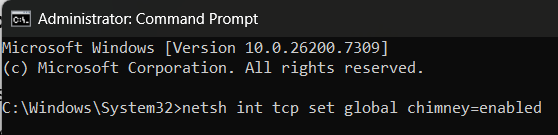
- Open Command Prompt as an administrator.
- Type
netsh int tcp set global chimney=enabledand press Enter. - Type
netsh int tcp set global rss=enabledand press Enter.
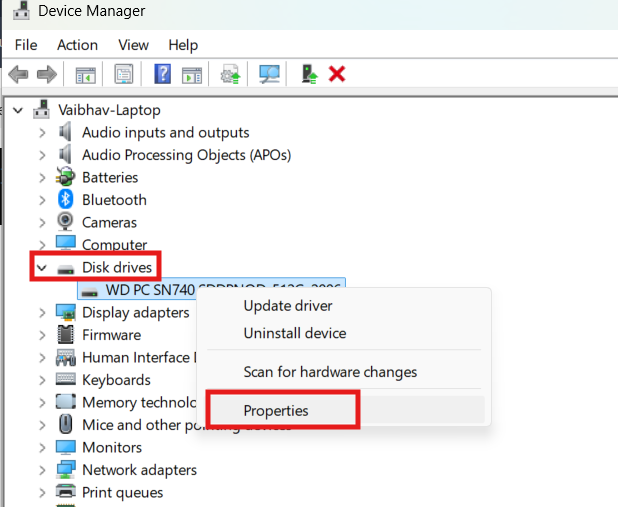
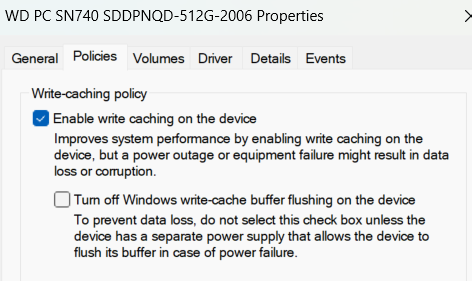
6. Enable Write Caching (Device Manager)
Write caching allows the system to store data temporarily in faster RAM before writing it to the main storage. This completes file I/O operations quicker, ensuring your system doesn’t stutter while performing background disk operations.
- How to Tweak:
- Open Device Manager.
- Expand Disk drives, right-click your main drive, and select Properties.
- Go to the Policies tab.
- Check the box for “Enable write caching on the device.”
- Warning: Do not enable this if your location is prone to sudden power outages, as it slightly increases the risk of data loss.
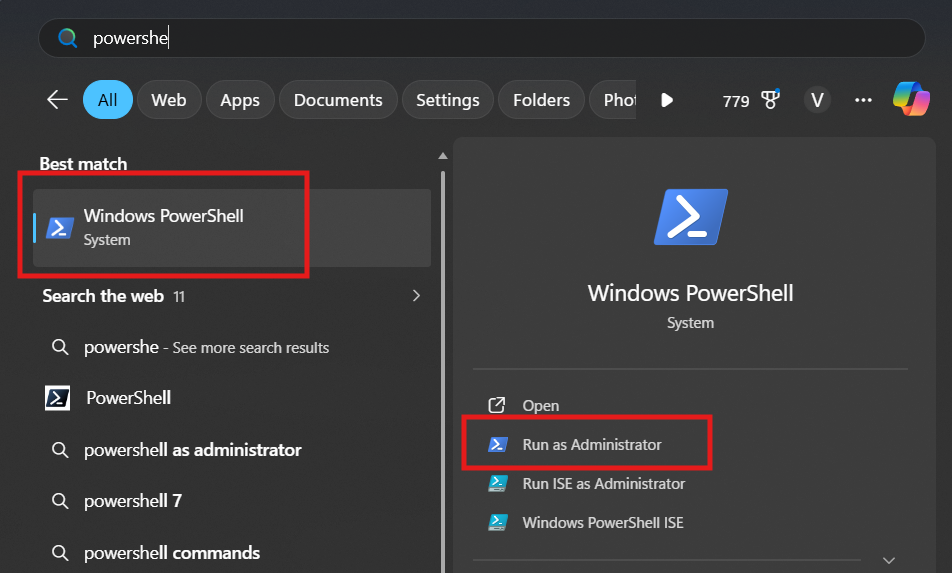
7. Optimize Memory Compression (PowerShell)
Memory compression saves RAM by compressing memory pages instead of writing them to disk (virtual memory). However, the compression process itself uses CPU resources.
- Recommendation:
- Disable if you have 16 GB of RAM or more to save CPU cycles.
- Keep enabled if you have less than 16 GB of RAM to save system memory.
- How to Tweak (Disable):
- Open PowerShell as an administrator.
- Type
Disable-MMAgent -MemoryCompressionand press Enter.

Part 3: Disabling Unnecessary Background Services
Services that monitor and report system activity consume resources that could otherwise be used for gaming/low-latency tasks.
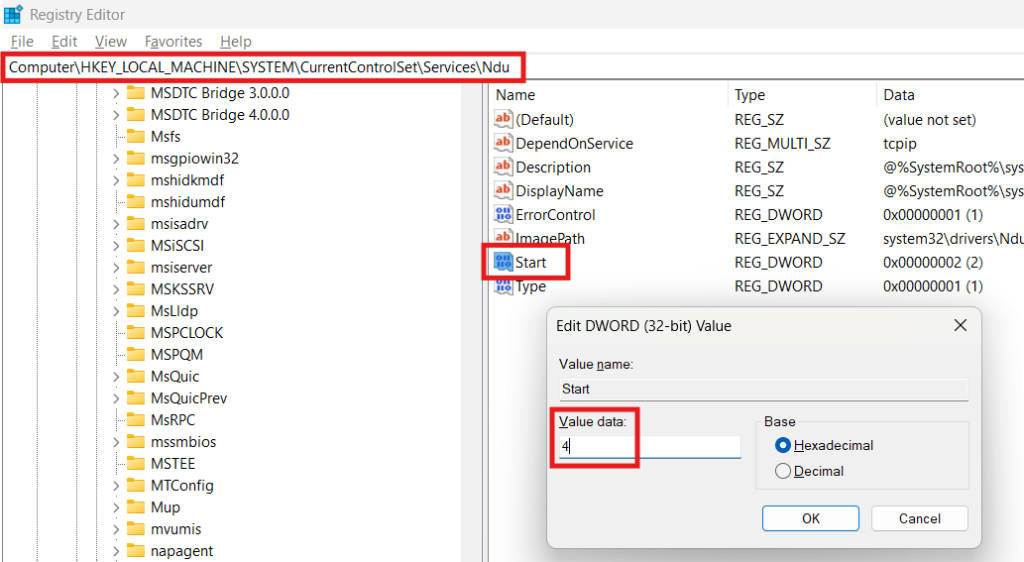
8. Disable NDU (Network Data Usage) (Registry)
NDU is a hidden service that tracks network data usage. By disabling it, you save the minor CPU and memory resources it consumes in the background.
- How to Tweak:
- Open Registry Editor (
regedit). - Navigate to
HKEY_LOCAL_MACHINE\SYSTEM\CurrentControlSet\Services\Ndu. - Double-click the
StartDWORD value and change its Value data to4(Disabled).
- Open Registry Editor (
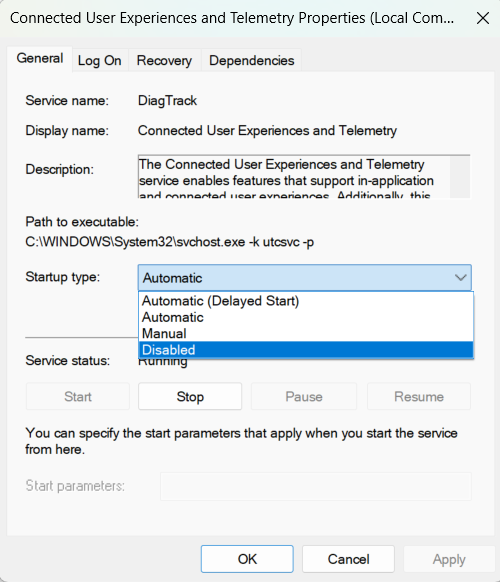
9. Disable DIATrack (Diagnostic Tracking) (Services)
DIATrack, under the name “Connected User Experiences and Telemetry,” collects diagnostic data. This service constantly uses system resources.
- How to Tweak:
- Search
services and open from windows search bar. - Find “Connected User Experiences and Telemetry.”
- Right-click, select Properties, and set the Startup type to Disabled.
- Search

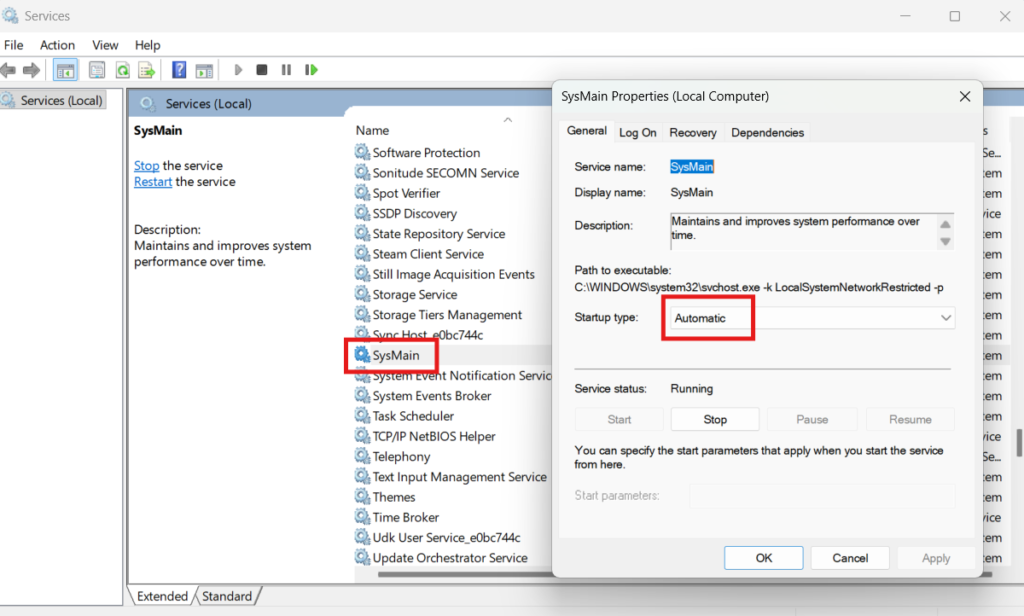
10. Optimize Superfetch (SysMain)
Depending on your Windows version, this pre-loading service can cause resource spikes that increase input lag.
- Search
services and open from windows search bar. - Serach for SysMain
- Windows 10 Users: Set to Disabled in
services.mscto prevent high disk/CPU usage. - Windows 11 Users: Keep it on Automatic, as it is generally more optimized.