How to Clean Your Gaming Mouse and Keyboard Without Breaking Them
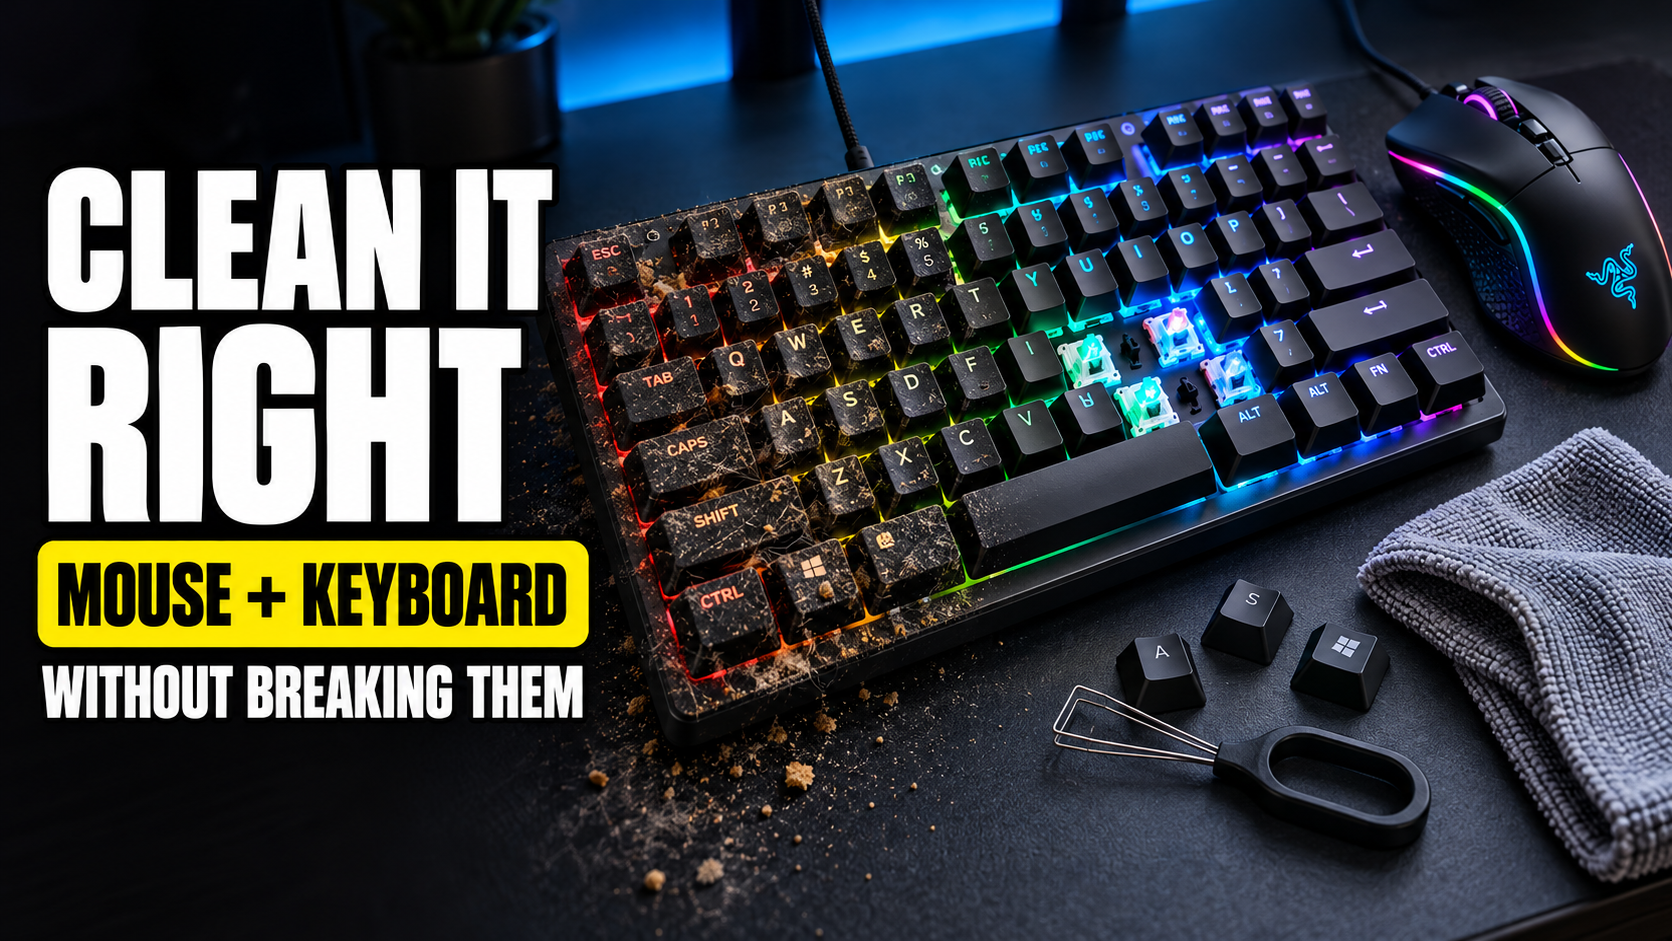
Take a close look at your keyboard. Not a quick glance, a proper look, with your phone flashlight pointed between the keys.
Yeah. That’s months of dust, skin, crumbs and maybe a few hairs you’d rather not think about. Studies have found keyboards can carry more bacteria than a toilet seat, which is a fun fact to remember the next time you eat chips during a ranked match.
The good news is that cleaning your gear takes about 30 minutes and makes a real difference. Keys stop sticking, your mouse glides smoothly again, and your desk stops smelling faintly of old snacks. The bad news is that it’s also easy to ruin a keyboard by doing it wrong. This guide covers the right way.
What You’ll Need
You probably have most of this at home already.
| Item | What It’s For | Do You Need It? |
|---|---|---|
| Isopropyl alcohol (90% or higher) | Cleaning surfaces, it evaporates fast | Yes |
| Microfiber cloth | Wiping without leaving lint | Yes |
| Cotton swabs (earbuds) | Getting into tight spots | Yes |
| Keycap puller | Removing keycaps safely | Yes, for mechanical keyboards |
| Compressed air can or electric air blower | Blowing dust out from under keys | Recommended |
| Soft brush (an old toothbrush works) | Loosening stuck dirt | Recommended |
| Toothpicks | Scraping gunk off mouse feet and edges | Nice to have |
| Bowl, warm water and mild dish soap | Washing keycaps | Only for deep cleans |
A note on alcohol: use isopropyl alcohol, not the hand sanitizer sitting on your desk. Sanitizer has gels and fragrance that leave sticky residue. 90% or 99% isopropyl is best because it dries in seconds and doesn’t sit on the electronics. You’ll find it at most medical stores or online.
Before You Start: Three Rules
Unplug everything. If it’s wireless, switch it off and take the batteries out if you can. Cleaning a keyboard while it’s plugged in is how you accidentally type a 400-character message into Discord.
Never pour or spray liquid directly onto your gear. Always put the alcohol on the cloth or cotton swab first, then wipe. Liquid that runs inside a mouse or keyboard is the fastest way to kill it.
Take a photo of your keyboard layout. You’ll thank yourself later when you’re staring at a pile of keycaps wondering where the semicolon goes.
How to Clean a Mechanical Keyboard
Quick Clean (Every Week or Two)
- Unplug the keyboard and turn it upside down. Give it a gentle shake over a bin. You’ll be surprised what falls out.
- Use compressed air or a blower between the keys to push out loose dust. Short bursts work better than one long blast.
- Dampen a microfiber cloth with a little isopropyl alcohol and wipe the tops of the keys and the frame.
- Use a cotton swab with a bit of alcohol for the gaps around the edges.
That’s it. Five minutes, and your keyboard won’t hit the point where it needs a full rescue mission.
Deep Clean (Every Few Months)
This is where you take the keycaps off and clean underneath them.
Step 1: Remove the keycaps. Use a keycap puller, slide it over a key, and pull straight up. Don’t twist or yank sideways. Start with the regular letter keys.
Be careful with the big keys: Spacebar, Enter, Shift and Backspace. These have stabilizers, which are small metal wires underneath that keep the key level. Pull them slowly and evenly. If you feel a wire resisting, stop and wiggle gently instead of forcing it. Bent stabilizers are a pain to fix, and a rattly spacebar will haunt you forever.
Step 2: Clean the board underneath. With the keycaps off, you’ll see the switches and the plate. Blow out the dust with compressed air, then use a soft brush to loosen anything stuck. Wipe the plate with a cotton swab dipped in alcohol.
Don’t pull out the switches themselves unless your keyboard is hot-swappable and you know what you’re doing. On most budget keyboards, the switches are soldered in, and pulling them will break the board.
Step 3: Wash the keycaps. Drop the keycaps into a bowl of warm water with a few drops of dish soap. Let them soak for 20 to 30 minutes, then give them a light scrub with a toothbrush.
Use warm water, not hot. Boiling or very hot water can warp plastic keycaps, especially cheaper ABS ones. And go easy on the scrubbing if the letters on your keycaps are printed on rather than molded in, since you can rub them off.
Step 4: Let them dry completely. Rinse the keycaps, spread them out on a towel, and leave them to air dry for at least 24 hours. Don’t use a hair dryer on high heat. If you put a keycap back while there’s still water inside, that water ends up on your switches, which defeats the whole point.
Step 5: Put everything back. Use your photo as a guide. Press each keycap straight down until it clicks into place. Do the stabilized keys carefully, making sure the wires line up before you press.
What About Membrane and Laptop Keyboards?
Membrane keyboards (the cheaper, softer, quieter type) can be cleaned the same way on the surface, but be more careful about taking keycaps off. Some pop off easily. Others have fragile clips that break if you look at them wrong.
Laptop keyboards are a different story. Don’t pull laptop keys off unless you really need to. Their clips are tiny and easy to snap. Stick to compressed air and an alcohol-dampened cloth.
| Keyboard Type | Can You Remove Keycaps? | Can You Wash Keycaps? |
|---|---|---|
| Mechanical | Yes, with a keycap puller | Yes |
| Membrane | Sometimes, very carefully | Yes, if they come off safely |
| Laptop | Avoid it | No, surface clean only |
How to Clean a Gaming Mouse
Your mouse probably gets dirtier than your keyboard, because your hand is on it the entire time.
Step 1: Wipe the outside. Dampen a microfiber cloth with isopropyl alcohol and wipe the whole shell, especially the buttons and the sides where your thumb rests. These areas get greasy fast.
Step 2: Clean the gaps. Run a toothpick gently along the seams around the buttons and the scroll wheel. Then follow with a cotton swab and a bit of alcohol.
Step 3: Clean the scroll wheel. Roll the wheel while holding a dampened cotton swab against it so you clean the whole surface. If the wheel feels gritty, a few short bursts of compressed air into the gap can help.
Step 4: Clean the mouse feet. Flip the mouse over. The flat pads on the bottom are the skates, and they collect a black ring of gunk that makes your mouse drag. Scrape it off gently with a toothpick, then wipe with a cloth.
Step 5: Check the sensor. Look at the small sensor hole on the bottom. If there’s dust or hair in it, use a dry cotton swab or one short puff of air. Don’t put alcohol in the sensor and don’t poke anything sharp into it. A dirty sensor causes jittery tracking, so this small step can fix problems you thought were your internet or your aim.
Don’t Forget the Mousepad
A dirty mousepad undoes all your mouse cleaning, and it makes your aim feel inconsistent.
Most cloth mousepads can be hand washed. Use lukewarm water and a little mild soap, scrub gently with a soft brush, rinse well and let it air dry flat. Don’t put it in a washing machine and don’t iron it. If your pad has RGB lighting, don’t soak it at all, just wipe the surface with a damp cloth.
Hard mousepads are easier. Just wipe them with a damp cloth.
What to Do If You Spill Something on Your Keyboard
It happens to everyone eventually. Here’s what to do in the first minute:
- Unplug it immediately. Don’t wait to save your game.
- Turn it upside down so the liquid drains out instead of sinking deeper.
- Blot what you can with a dry cloth.
- Leave it upside down to dry for at least 24 to 48 hours before plugging it back in.
Water is the easiest spill to recover from. Tea, coffee and soft drinks are worse because the sugar dries sticky. For those, pull the keycaps off once it’s dry and clean the affected switches and plate with isopropyl alcohol.
How Often Should You Clean Your Gear?
| What | How Often |
|---|---|
| Quick keyboard wipe | Every 1 to 2 weeks |
| Mouse wipe | Every week |
| Keyboard deep clean | Every 3 to 6 months |
| Mousepad wash | Every 1 to 2 months |
| After eating at your desk | Right away, ideally |
If you live somewhere dusty, or you game with the window open, you’ll need to clean a bit more often.
Mistakes That Actually Break Things
- Spraying liquid directly onto the keyboard or mouse.
- Using hot or boiling water on keycaps.
- Putting keycaps back before they’re completely dry.
- Yanking off the spacebar and bending the stabilizer wire.
- Pulling soldered switches out of a keyboard that isn’t hot-swappable.
- Using cleaning slime or putty on a mechanical keyboard. It can leave sticky bits stuck in the switches.
- Putting a mousepad in the washing machine.
FAQs
How do I clean a mechanical keyboard without removing the keys?
Turn it upside down and shake it, blow air between the keys, and wipe the surfaces with a cloth dampened with isopropyl alcohol. This handles most of the dust between deep cleans.
Can I use water to clean my keyboard?
Only on keycaps that you’ve removed. Never put water on the keyboard itself. Use isopropyl alcohol on a cloth for the board and frame.
Is it safe to wash keycaps in a washing machine or dishwasher?
No. The heat and force can warp them or wear off the letters. A bowl of warm soapy water does the job safely.
Why is my mouse tracking badly?
Usually it’s dust in the sensor or gunk on the mouse feet. Clean both and check your mousepad, which might be dirty or worn out.
What’s the best thing to clean a gaming mouse with?
A microfiber cloth with 90% or higher isopropyl alcohol for the surfaces, and a toothpick and cotton swabs for the gaps and feet.
If your gear is worn out rather than just dirty, it might be time for an upgrade that won’t hurt your wallet. Check out our picks for the best gaming mouse under ₹1,500 and best mechanical keyboards under ₹1,500.